Latitude: 31.3689994812012
Longitude: -81.7411193847656
Longitude: -81.7411193847656
You can enter (or Copy/Paste!) these values on the Camera palette window. Select Camera from the Window menu if it's not visible.
Then, click the Jump button. You should appear here:
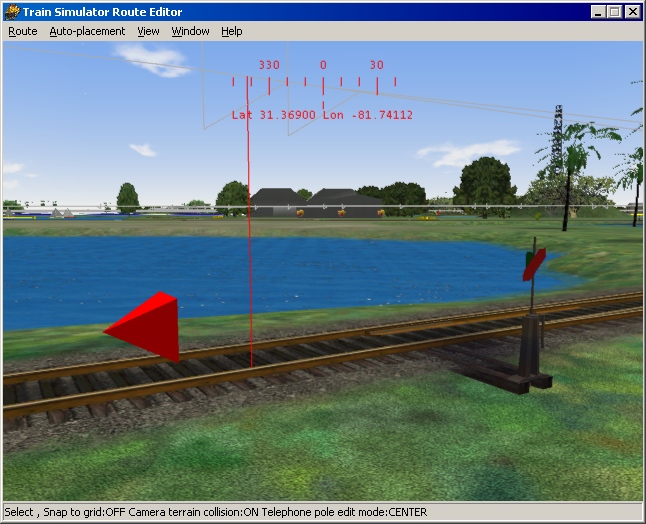
Fig. 1: This is the switch that, when thrown, will freeze MSTS. Facing North (bearing 0).
You should then get here, approximately:
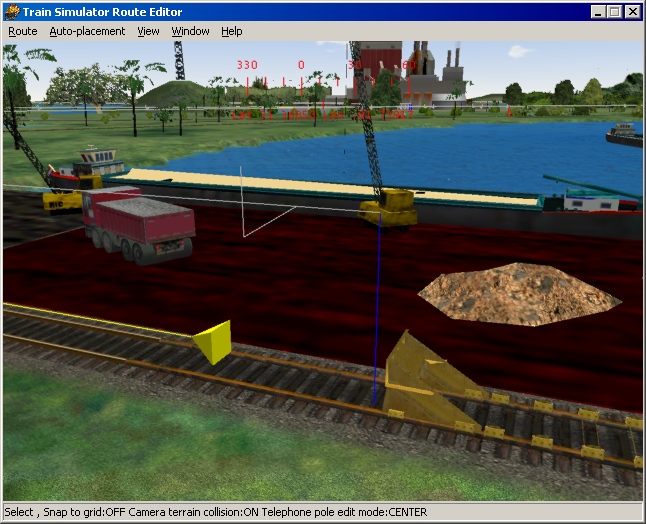
Fig. 2: End of the problem track. Facing North.
The blue pole marks the "End Node" in the track database for this track.
If that window isn't visible, use the Placement command on the Window menu.
The Object selector window should appear.
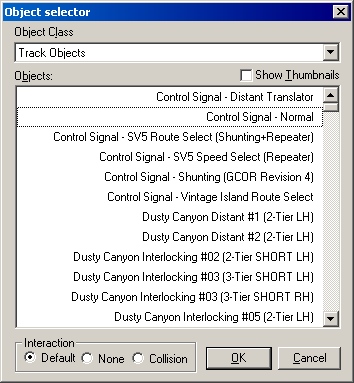
Fig. 3: The Object selector window showing the entry to click on.
When ready, click the OK button.
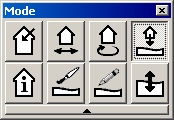
Fig. 4: The Mode palette in "Place Object" mode.

Fig. 5: Positioning the cursor on the track, just inside the blue line.

Fig. 6: Newly placed signal, in outline mode because it is selected.
The signal should be facing off the end of the track. The red track marker should be pointing towards the blue pole.
Because it's already selected, it's ready to be manipulated.
You can use the down-arrow key on the number pad to lower it all the way into the ground.
OR
You can open its Properites window by pressing F6. Then enter "-9" for the "Y" coordinate:

Fig. 7: Signal's Properties window with changed "Y" coordinate.
and then press OK.
The red track marker will still be on the track but the signal itself should now be under the terrain.
Use the cursor keys and fly southeast (Heading 135 on the compass).
When the Placement palette indicates "219 objects" it's then okay to save.
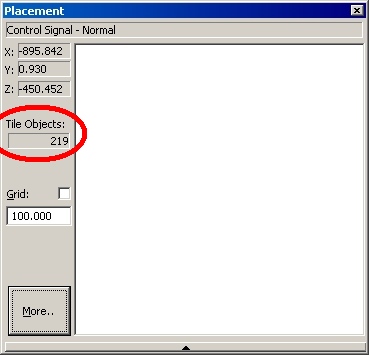
Fig. 8: Fewer objects here as shown on this window.
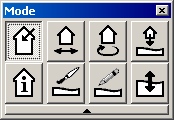
Fig. 9: The Mode palette in "Select Object" mode.
and click the sky to de-select all objects.
(The X, Y and Z values on the Object palette should then read all zeros.)
(Reply No to any other prompts.)